Why Differential Leak Test Results Vary
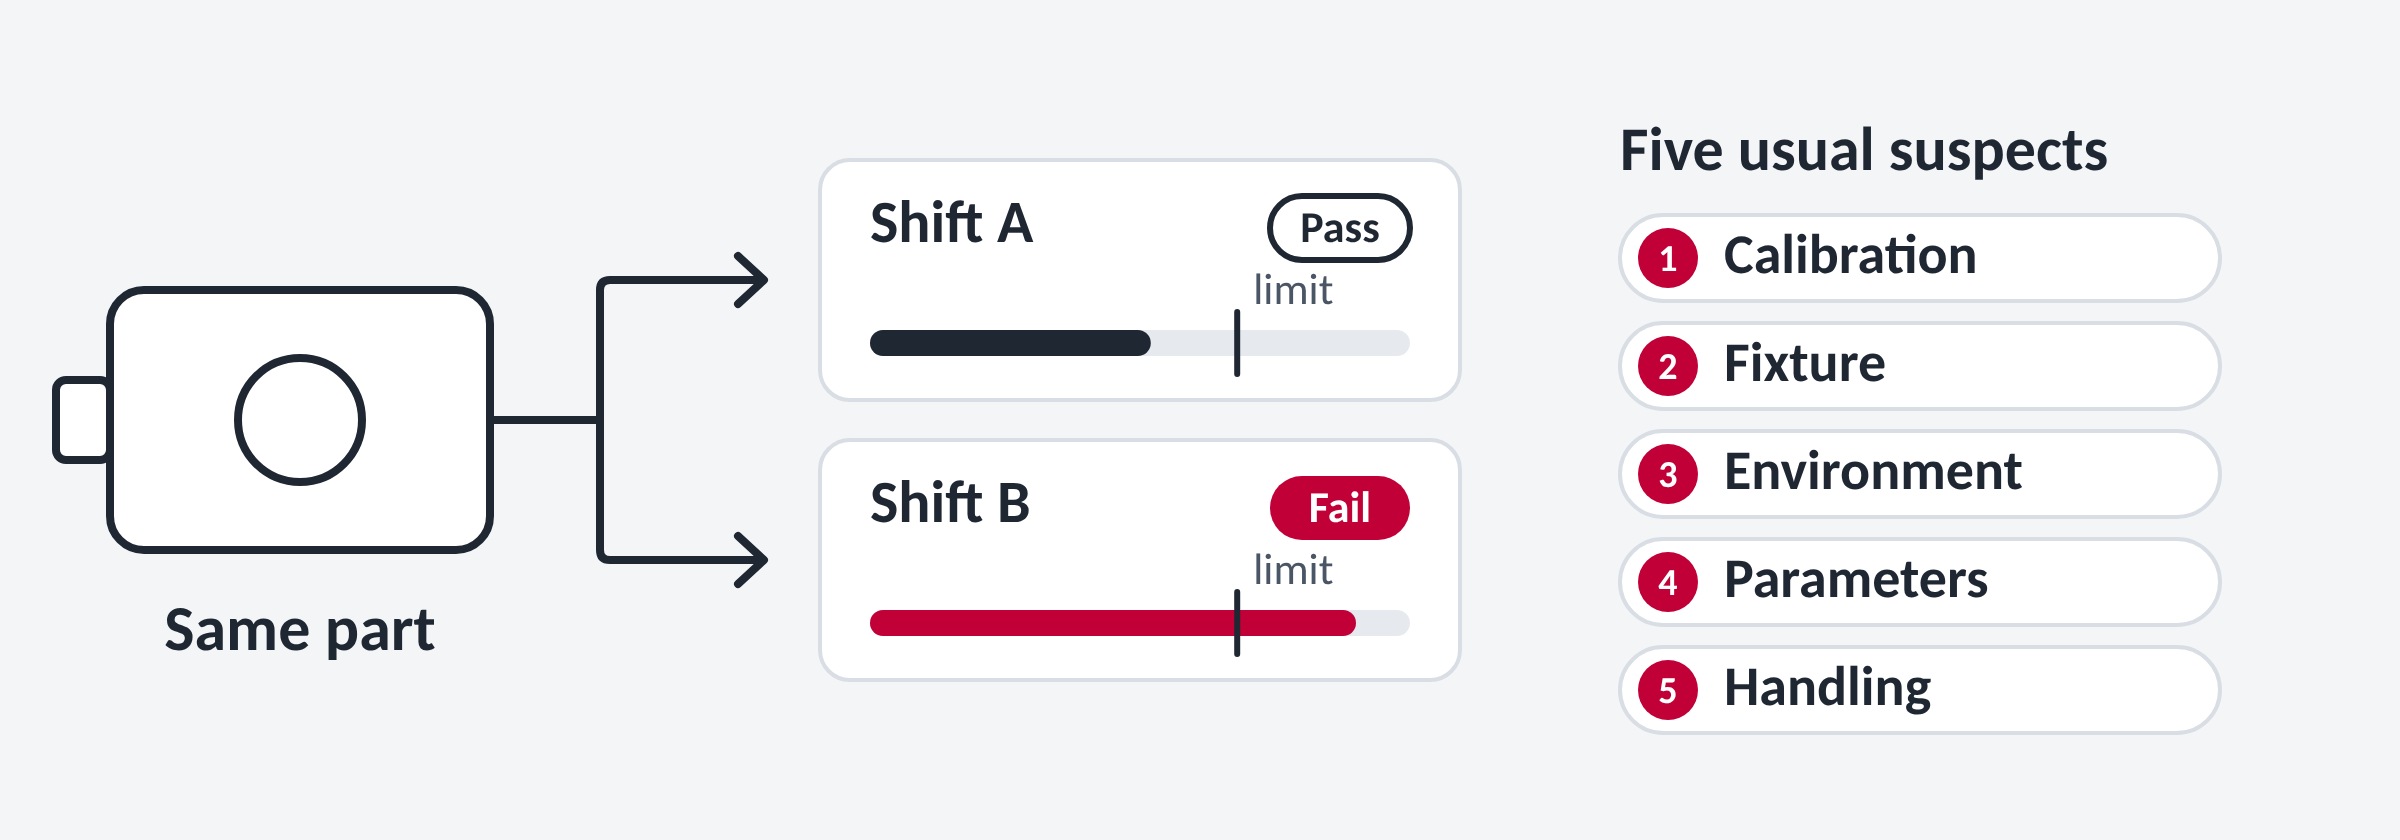
You have probably seen it: a part passes on one shift and fails on the next, or the same part reads differently twice in a row. On an automotive or industrial line, inconsistent test results are rarely random. With differential leak testing equipment, the variability usually comes from a short list of sources, and each one can be isolated with a simple check.
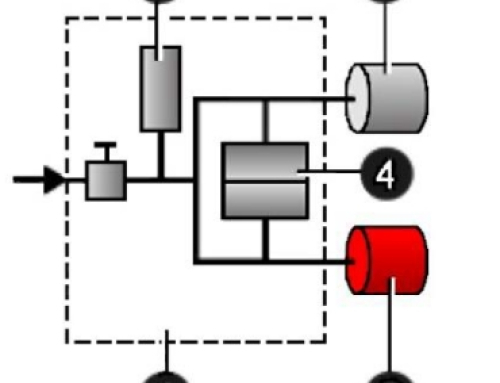
Differential testing compares the part under test with a sealed reference volume and measures the difference between the two.
1.Calibration Drift
Equipment calibration moves over time. A small shift can affect leak test accuracy long before anything fails outright.
Quick check: run a certified reference part. If the instrument doesn't read true, you have found your starting point. ATEQ offers ISO 17025-accredited calibration services for exactly this situation.
2.Test Fixture Issues
The connection between the part and the test circuit has to be leak-tight on every single cycle. Worn seals, parts that seat a little differently each time, or debris on a sealing surface all show up as part variability, even when the part is fine.
Quick check: run the fixture empty, blocked off with no part loaded. If it can't hold a steady baseline on its own, the fixture is your problem.
3.Environment
Differential testing helps cancel out ambient noise, but it can't cancel everything. Drafts, vibration, or a part that hasn't reached a stable temperature can still disturb a reading.
Quick check: retest after letting the part settle, or after shielding the station from drafts. If the readings tighten up, the environment was involved.
Not sure which one is behind your readings?
Contact our team4.Test Parameters
Settings built for one part don't always suit another. Reusing a program from a different geometry is a common source of noisy results.
Quick check: compare the program against the part it is actually running.
5.Handling and Part-to-Part Differences
Even with sound equipment, how the part is loaded matters.
Quick check: retest one part several times without removing it, then again with a full load and unload each time. If the spread only shows up in the second run, look at handling or fixture seating.
Tip: change one thing at a time and write down what happens, so each reading points to a single cause.
Narrowing It Down
- 1Calibration
- 2Fixture
- 3Environment
If you are not sure where to start, go in this order. It rules out the instrument first, before you start questioning the process around it. For a broader checklist, see our guide to getting consistent results from your leak tester, or contact our team to talk through your application.